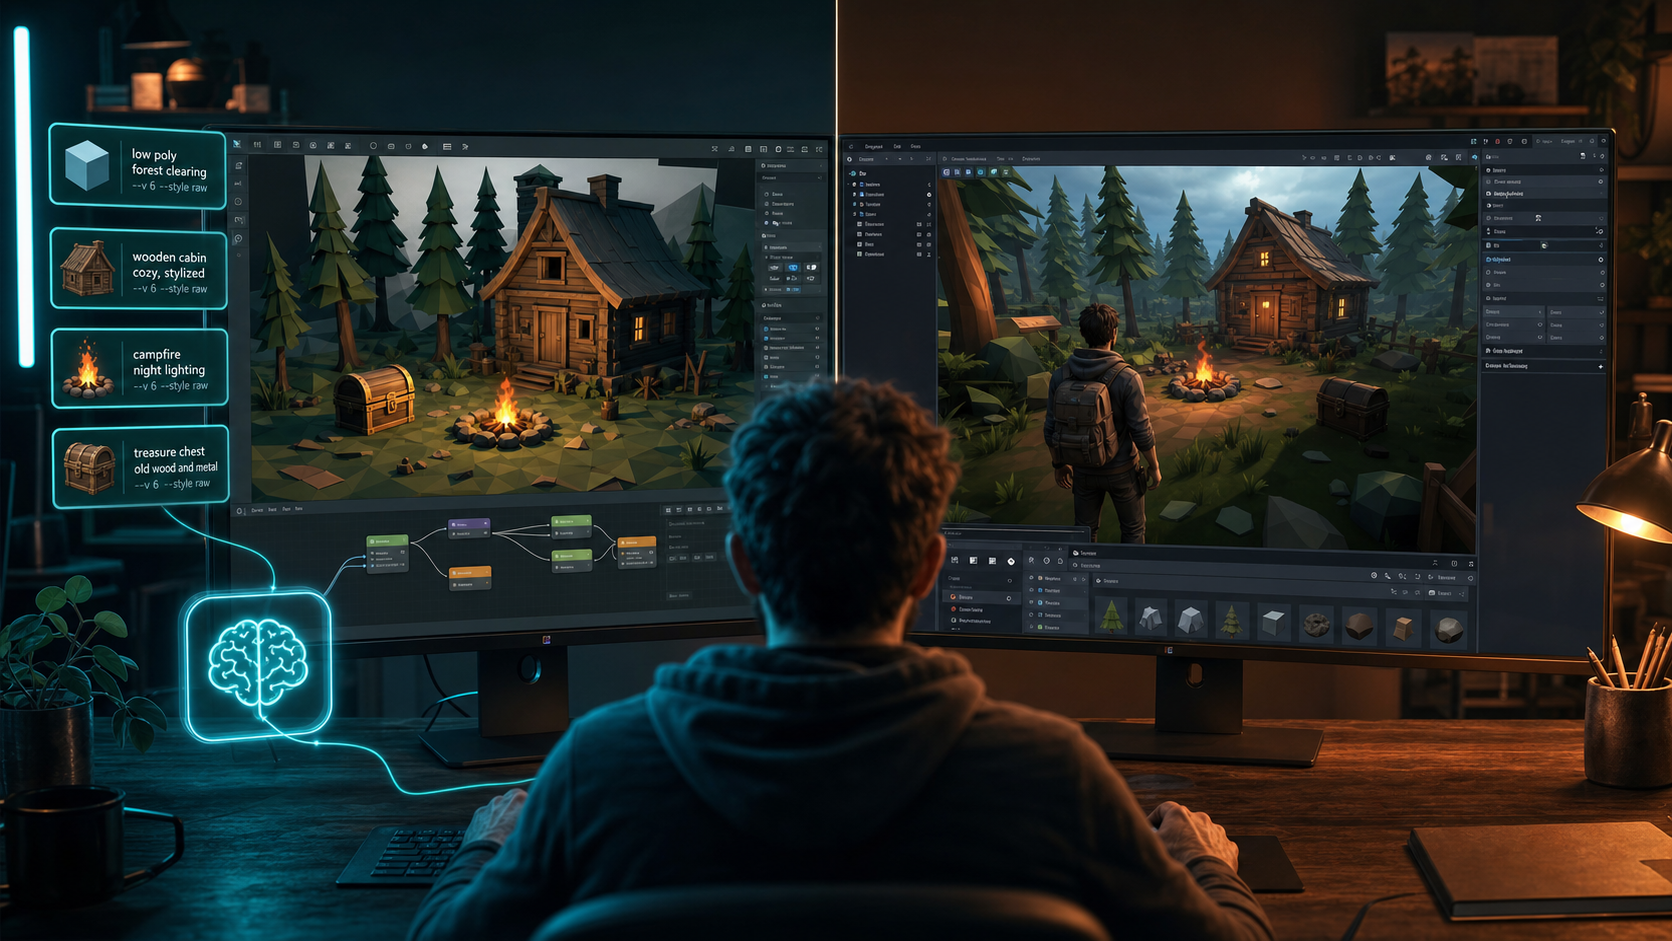
Most AI game demos stop at the wrong finish line. They produce a pretty render, a short clip, or a folder of disconnected meshes, then leave the developer with the hard part: turning those pieces into something a player can move through, touch, and understand in under a minute.
This article is a practical walkthrough for a better finish line. You will build a small but complete prototype using Blender MCP for asset creation and Godot for playability. The scene is intentionally modest: a forest clearing, a wooden cabin, a campfire, a treasure chest, and a player who can walk up and collect the chest. That is enough to prove the whole pipeline without drowning in systems design.
The goal is not “AI made my game.” The goal is “AI shortened the slowest stretch of prototype work so I could judge the idea sooner.” If you finish this workflow, you should have:
- a named, editable Blender greybox scene
- exported GLB assets ready for Godot
- a third-person or first-person controller in the scene
- one real interaction: pick up the chest
- a 20 to 30 second playable loop you can record or send to a friend
A prototype is successful when a stranger can understand the fantasy in half a minute, not when every prop looks finished.
What You Are Building
Think of the project as a vertical slice with one emotional beat: arrive in a quiet clearing, notice the cabin and firelight, walk the path, and claim the chest. Everything else is optional. No inventory screen. No combat tree. No dialogue system. No open world. Those features are valuable later, but they are poison at the start because they multiply edge cases before you have proven the scene is readable.
The scene formula looks like this:
- Landmark: cabin with door and chimney
- Path: dirt route from spawn to door
- Atmosphere: two trees, campfire, dusk light
- Interaction: treasure chest near the door
- Optional flavor: rock, sword, coin pile
Why this formula works: the player always knows where to go. The cabin is the destination. The path is the invitation. The fire is the mood. The chest is the reward. Even if the meshes are rough, the fantasy remains clear.
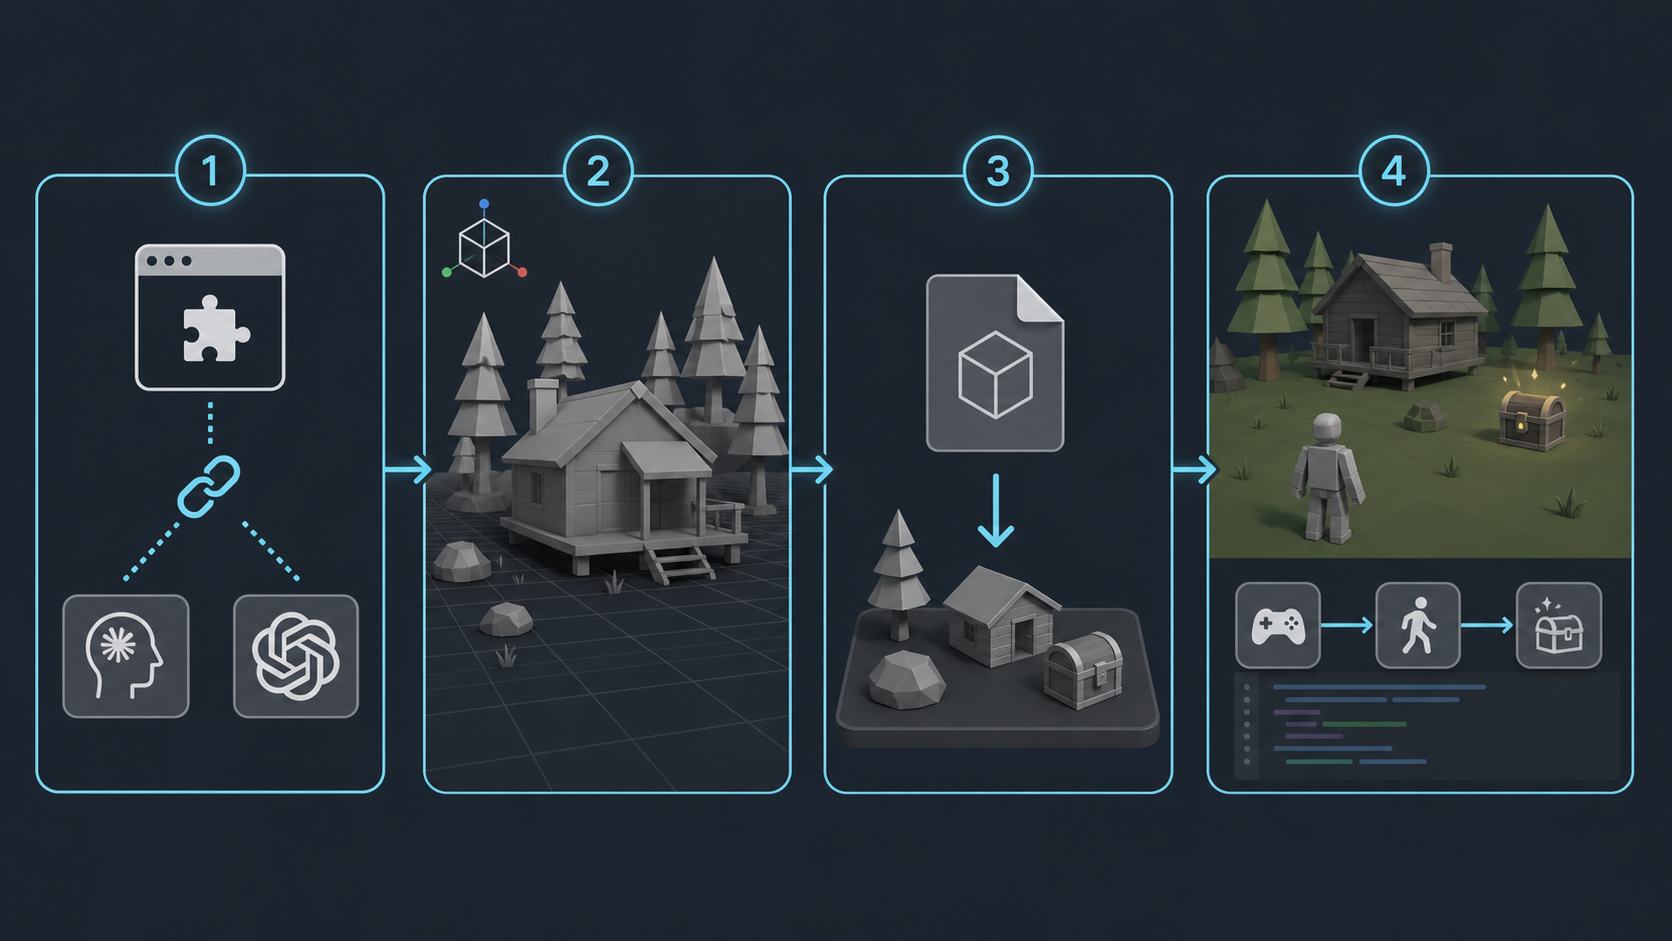
Recommended Tools and Roles
Use a narrow stack. Every extra tool becomes another place where context gets lost.
- Blender 3.0+ or newer: scene construction and export
- Blender MCP: natural-language control of Blender through an AI client
- Claude or GPT-class assistant: prompt-driven modeling, cleanup scripts, iteration
- Godot 4.x: import, player controller, interaction, playtest
- Optional Cursor: if you want the same AI nearby while editing GDScript
A practical division of labor works best:
- Let the model create the first pass of geometry and naming.
- You decide scale, readability, and what stays in the game.
- Let the model write export and cleanup scripts.
- You own the Godot interaction and feel.
Reality Check
Blender MCP is a community integration, not a magic “complete game” button. It can create and rearrange objects quickly, but topology, collision, animation quality, and fun still depend on human judgment. Keep your first project disposable until the loop is proven.
Day-Zero Setup
1. Install the foundation
Before any prompting, make sure the boring layer works:
- Install a current Blender build.
- Install Godot 4.x.
- Install the
uvpackage manager required by many MCP server setups. - Download the Blender MCP addon and enable it in Blender preferences.
- Add the MCP server to Claude Desktop, Cursor, or ChatGPT Desktop according to the client you prefer.
Then run a connection test with a boring but useful prompt:
Test prompt: “Inspect the current Blender scene and list every object with its location and dimensions. Do not create anything yet.”
If the assistant can see the scene graph, you are ready. If it cannot, stop and fix the connection. Never begin asset generation on a half-connected toolchain. That is how people waste an afternoon generating beautiful objects into the wrong place.
2. Create a disposable project structure
Make two folders side by side:
forest_cabin_blender/for the Blender file, references, and exportsforest_cabin_godot/for the Godot project
Inside the Blender side, create:
references/exports/glb/renders/scripts/
Inside Godot, create:
assets/environment/assets/props/scenes/scripts/
This sounds administrative. It is not. Clear folders prevent the classic failure mode where AI-generated objects, manual fixes, old exports, and engine imports collapse into one unreadable directory.
Step 1: Write the Prototype Contract
Before you generate a single mesh, write a one-page contract for the prototype. This is the document you will paste into the AI at the start of the session.
Prototype contract:
Genre: cozy exploration slice
Player fantasy: arrive at a hidden cabin and claim a chest
Camera: third-person preferred, first-person acceptable
Art style: low-poly, readable silhouettes, dusk lighting
Player height reference: 1.8 meters
Must include: cabin, path, campfire, two trees, chest
Must not include: combat, inventory UI, dialogue, multiplayer
Success test: player can spawn, walk to cabin, pick up chest in under 30 seconds
Why this matters: AI assistants are eager. If you do not constrain them, they invent extra props, denser foliage, cinematic cameras, and decorative clutter that looks impressive and exports badly. A good contract turns the model into a production assistant instead of a concept-art generator.
Step 2: Greybox the Scene in Blender with MCP
Start with structure, not beauty. Your first prompt should create separate named objects and a playable layout.
Greybox prompt:
“You are helping me prototype a small indie game scene in Blender via MCP. Style: low-poly, readable, game-ready, not cinematic. Scale: human player about 1.8 meters tall. Keep objects separate and clearly named. Create a forest clearing greybox with: Ground_Plane, Dirt_Path, Cabin, Campfire, Tree_01, Tree_02, Treasure_Chest. Place the player spawn opposite the cabin door. Do not over-detail materials yet. Report final object names and approximate sizes.”
After the first pass, do not celebrate the render. Orbit the viewport and check five things:
- Can a 1.8 m capsule fit through the door?
- Is the path continuous from spawn to cabin?
- Are the trees far enough from the walking line?
- Is the chest visible from the path without camera hunting?
- Are object names stable and unique?
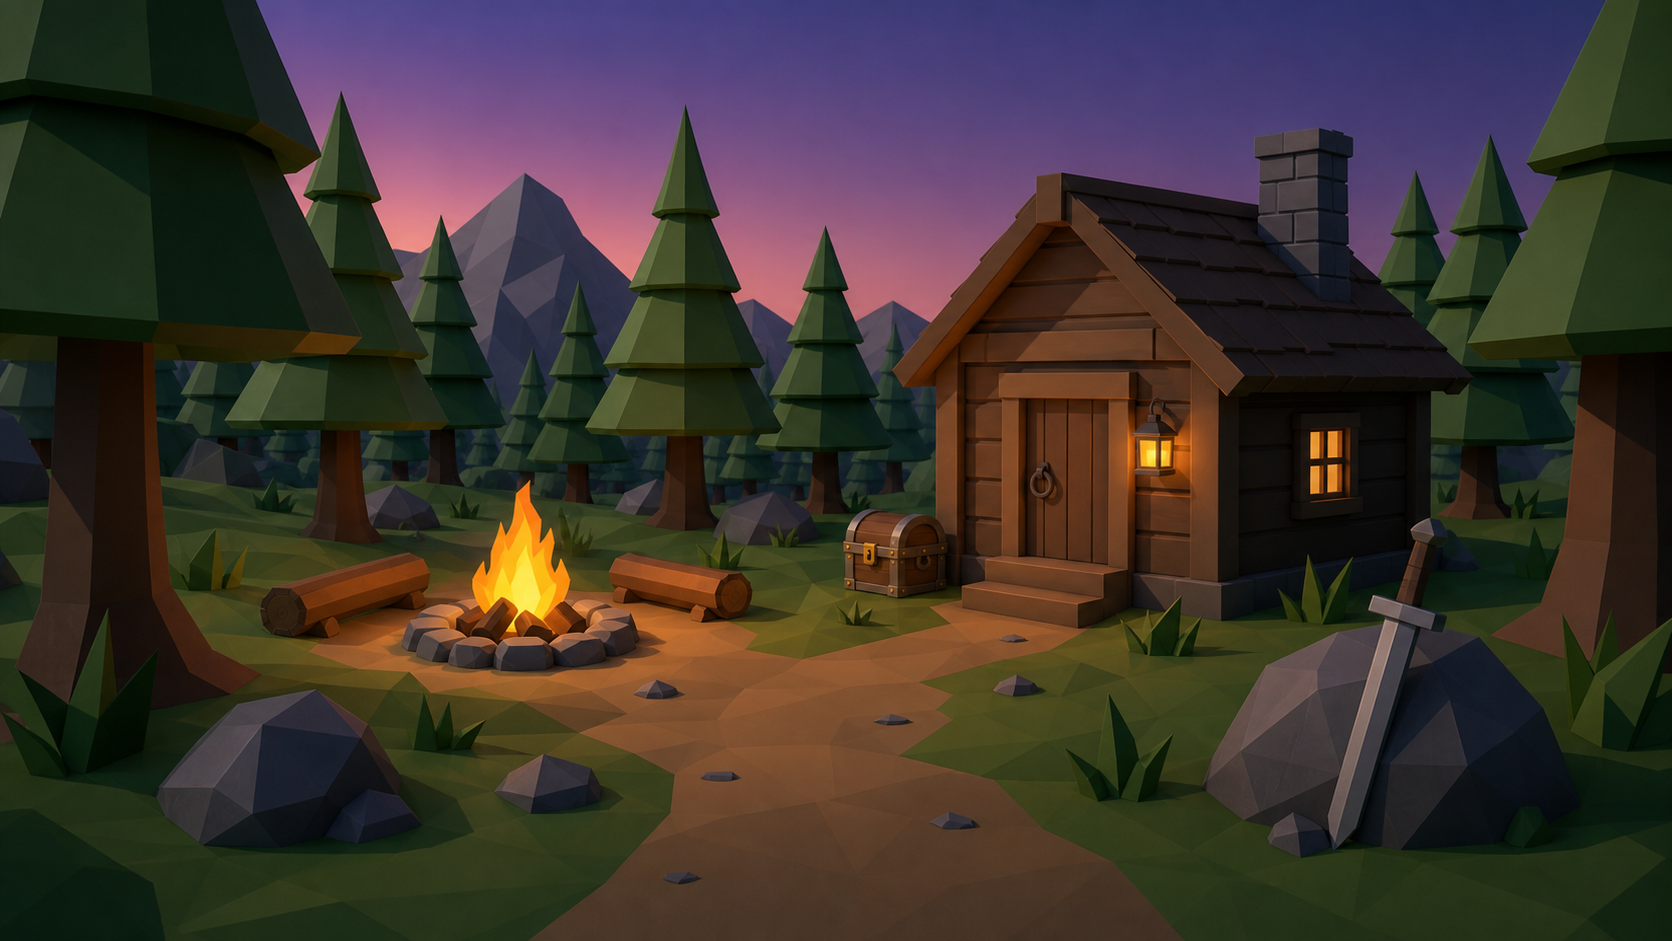
Iterate one concern at a time
The biggest beginner mistake with Blender MCP is stacking five requests into one turn. That creates messy scenes that are hard to reverse. Iterate like a technical artist:
Pass A: architecture
“Update Cabin only: add a front door, thicker roof, and chimney. Keep low-poly style. Do not touch trees or the chest.”
Pass B: props
“Add Rock_01 near the path and Sword_01 leaning on it. Keep them as separate objects. Do not redesign the cabin.”
Pass C: atmosphere
“Set dusk lighting with a warm key from the campfire direction and cooler forest fill. Keep materials simple and readable for real-time games.”
Each pass should end with a short audit request:
“List all scene objects, flag any unnamed meshes, and tell me which objects are likely essential for export.”
Step 3: Make the Scene Exportable
Pretty is optional. Exportable is mandatory. Before leaving Blender, force a cleanup pass.
Cleanup prompt:
“Prepare this scene for game export. Apply sensible transforms, remove unused helper objects, keep only game-relevant meshes, ensure origins are reasonable, and summarize export candidates by category: environment, props, landmarks.”
Then decide your export strategy. For this prototype, prefer separate logical assets over one giant scene blob:
cabin.glbtrees.glbortree_01.glb/tree_02.glbcampfire.glbtreasure_chest.glbground_path.glbor a simple Godot CSG/plane substitute
Separate files make iteration saner. If the chest scale is wrong, you re-export one prop instead of rebuilding the whole scene.
Ask the assistant for an export script when the scene is stable:
“Write and run a Blender Python script that exports Cabin, Tree_01, Tree_02, Campfire, and Treasure_Chest as individual GLB files into exports/glb. Print a success list at the end.”
After export, open the folder and confirm file sizes are sane. Extremely tiny files may mean empty exports. Extremely huge files may mean accidental high-density geometry or packed extras you do not need.
Step 4: Create the Godot Project Shell
Open Godot and create a new project using the Forward Plus or default desktop renderer. Immediately set up a minimal scene hierarchy:
Main(Node3D)World(Node3D)Player(CharacterBody3D)Interactables(Node3D)Lighting(Node3D)UI(CanvasLayer)
Import your GLB files into assets/. Godot is usually friendly with glTF/GLB, which is one reason this stack is efficient for solo prototypes.
Place the cabin first, then the path, then spawn. Do not begin scripting until the spatial story works when you fly the editor camera from spawn to door. If the layout fails in the editor, no amount of GDScript will save it.
Scale calibration
Create a temporary capsule or use your player body as a measuring stick. Check:
- door height
- chest height relative to hands or waist
- tree trunk thickness versus path width
- distance from spawn to door, ideally a short walk rather than a trek
If the cabin feels like dollhouse architecture, return to Blender and scale there. Constantly compensating inside Godot creates long-term confusion.
Step 5: Build a Boring but Reliable Player Controller
Use the simplest controller that lets you judge the space. A basic CharacterBody3D with move, look, and gravity is enough. Do not start with parkour, stamina, or advanced camera soft-lock.
Your controller only needs:
- walk movement
- mouse or gamepad look
- collision with floor and cabin
- an interaction ray or area in front of the player
A practical interaction design for this prototype:
- when the player faces the chest within range, show “Press E to open”
- on press, play a tiny animation or simply hide/disable the chest
- print or display “You found the stash!”
That is a complete fantasy loop. Resist the urge to add inventory slots on day one.
Implementation note: Keep interaction logic on the chest as a small script with a method like try_interact(player). The player detects targets; the chest decides what happens. This keeps future props easy to add.
Step 6: Turn Props into Game Objects
Imported meshes are not gameplay. Each important prop needs a thin game layer.
Cabin
- static collision for walls
- optional occluder if performance matters later
- no interaction required for v1
Campfire
- mesh plus OmniLight3D or GPU particles for glow
- keep light radius modest so the cabin remains readable
Treasure chest
- mesh
- collision or area for detection
- interact script
- open state variable
If AI-generated collision is messy, replace it with simple Godot collision shapes. A box collider that plays well is better than perfect visual collision that snags the player.
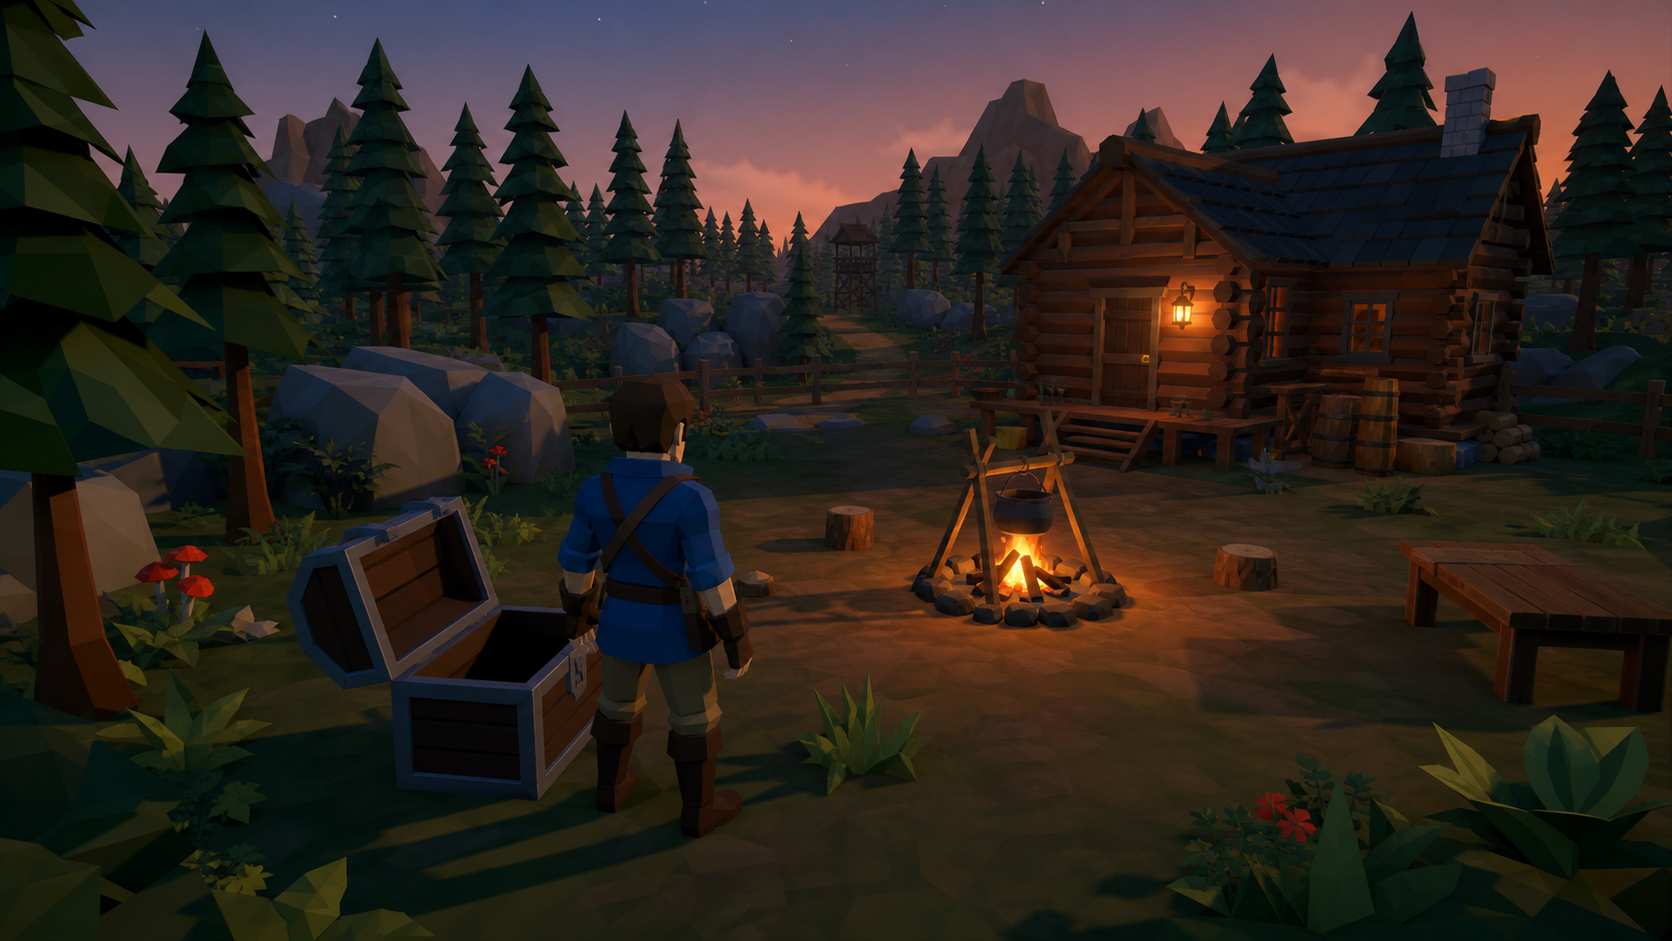
Step 7: Light for Readability, Not Cinema
Dusk lighting is atmospheric, but prototypes fail when players cannot parse depth. Use a simple recipe:
- DirectionalLight3D for moon/dusk key
- warm OmniLight3D on the campfire
- subtle environment ambient so shadows do not crush the path
- avoid dense volumetric effects in v1
Then do the readability test: stand at spawn and ask whether you can identify cabin, path, fire, and chest in one glance. If not, increase contrast or simplify materials before adding more props.
Step 8: Playtest Like a Stranger
Run the game and force yourself through a strict script:
- Spawn. Do you know which way to walk?
- Follow the path. Do you snag on rocks or tree collision?
- Reach the cabin. Does the door area feel intentional?
- Find the chest. Is it discoverable without pixel hunting?
- Interact. Does feedback happen immediately?
- Stop. Would a friend understand the fantasy from a 20-second clip?
Write down only blockers. Do not open a feature wishlist yet. A useful blocker list looks like:
- chest interaction range too small
- player camera clips cabin eaves
- path slope too steep near spawn
- fire light too white, cabin silhouette weak
Then fix those four things. Do not “while I’m here” yourself into a quest system.
Step 9: Create a One-Day Improvement Loop
Once the first playable version works, use a disciplined loop:
- Play for two minutes and note one friction point.
- Decide whether the fix belongs in Blender or Godot.
- If art/layout: revise with MCP, re-export only the changed asset.
- If feel/interaction: revise GDScript or collision in Godot.
- Play again immediately.
This is where Blender MCP becomes valuable. Because asset generation is cheap, you can test three cabin silhouettes or two chest sizes in the time you used to spend hand-blocking one version. The danger is aesthetic churn. Keep the success test fixed: can the player complete the loop cleanly?
Prompt Library You Can Reuse
Scene bootstrap
“Create a low-poly game greybox for a cozy forest cabin prototype. Player scale 1.8m. Named objects only. Include Ground, Path, Cabin, Campfire, Tree_01, Tree_02, Treasure_Chest. Prioritize playable layout over detail.”
Prop refinement
“Refine Treasure_Chest only. Strong silhouette, hinged-top readability, modest polycount, origin at ground center, no merged scene dependencies.”
Export audit
“Audit the scene for Godot export. Flag tiny objects, gigantic objects, unnamed meshes, and anything likely to break collision. Then export selected props as GLB.”
Godot handoff summary
“Summarize each exported asset with recommended collision type, expected player interaction, and known cleanup still required.”
Common Failures and Fast Fixes
1. The scene looks good but plays badly
Usually caused by decorative density without a clear path. Delete 30 percent of props and widen the walking corridor.
2. Everything imports as one immovable clump
You exported a single combined scene. Split by gameplay ownership and re-export.
3. Doorways are unusable
AI often under-scales architecture. Place a 1.8 m reference cube in Blender before more detailing.
4. Interaction never triggers
Check collision layers, ray length, and whether the chest root moved away from its collision shape during import.
5. The prototype keeps expanding sideways
Freeze scope with a sticky note: “Spawn, walk, pickup.” Anything else waits until the clip is recordable.
What Good Looks Like at the End of One Session
If your time budget is one focused evening, aim for this definition of done:
- Blender file opens with named objects and no mystery meshes
- GLB exports reimport cleanly into Godot
- player can walk from spawn to cabin without cheating through collisions
- chest can be collected once with visible feedback
- you can record a 20-second video that communicates the fantasy without narration
That package is already more valuable than a folder of disconnected AI renders. It is a decision tool. You can now ask real questions: Is the cabin fantasy interesting? Does the path length feel right? Do you want exploration, stealth, or combat layered on top? Those questions are impossible to answer from a still image alone.
Where to Take the Prototype Next
Only after the loop is stable should you expand, and only one system at a time:
- Audio: footsteps, fire crackle, chest open stinger
- Animation: simple chest lid open
- Progression: key on a stump before the chest unlocks
- Traversal: side path to a scenic overlook
- Production: replace greybox trees with better variants while preserving collision footprints
Notice the order. Feel and feedback first, content breadth second. AI makes content breadth seductive. Good prototypes stay narrow long enough to become true.
Why This Workflow Matters for Indies
Solo developers rarely fail because they cannot imagine worlds. They fail because the distance between imagination and a testable scene is long, boring, and easy to abandon. Blender MCP compresses the art bootstrap. Godot compresses the playable bootstrap. Together they create a loop that favors evidence over daydreaming.
Used poorly, the same tools create infinite mood boards. Used well, they create a rhythm:
- describe a constrained scene
- generate a greybox
- export only what gameplay needs
- make one interaction real
- judge the fantasy quickly
- iterate with intent
That is the actual skill worth learning. Not “prompting a cabin,” but running a production loop where AI labor is bounded by playable outcomes.
If the chest cannot be picked up, you do not have a game prototype yet. You have set dressing.
Final Checklist
Print this and keep it next to your monitor:
- Connection test passed in Blender MCP
- Prototype contract written and pasted into the session
- Greybox created with named objects
- Door, path, and chest validated at player scale
- Cleanup and export completed as separate GLBs
- Godot hierarchy created before scripting
- Player movement stable
- Chest interaction working once
- 20-second capture recorded
- Next change list limited to real blockers
If all ten are true, congratulations: you did not just “try AI art.” You operated a modern indie prototype pipeline end to end.
The forest cabin is small on purpose. Master this loop on a tiny scene and you can later attempt denser environments, enemy placeholders, or multi-room interiors without losing control. The craft is not generating more objects. The craft is knowing which objects deserve to become gameplay.
Appendix A: Suggested Folder and Scene Names
Consistency is a hidden productivity feature. Use boring names and keep them stable across Blender and Godot. When the assistant renames objects creatively, your export scripts, collision setup, and interaction hooks all drift. A reliable convention is enough:
ENV_Ground,ENV_Path,ENV_Tree_01LND_Cabinfor landmarksPRP_Campfire,PRP_Chest,PRP_SwordSPAWN_Playeras an empty or marker
In Godot, mirror those names in nodes even if the imported mesh names differ slightly. Future you will be grateful when the interaction script can find PRP_Chest without archaeology.
Appendix B: A 90-Minute Sprint Plan
If you only have an hour and a half, use this clock:
- 0:00-0:15: install/connect checks and prototype contract
- 0:15-0:40: greybox generation and scale correction
- 0:40-0:55: cleanup and GLB export
- 0:55-1:20: Godot import, player controller, placement
- 1:20-1:35: chest interaction
- 1:35-1:45: playtest and record a short capture
Anything not required by that clock is deferred. This includes grass scatters, inventory menus, dynamic weather, and bespoke shaders. Those are later multipliers, not first-playable requirements.
Appendix C: Evaluation Rubric
Score your result from 1 to 5 on each line:
- Spatial readability from spawn
- Traversal comfort
- Landmark clarity
- Interaction clarity
- Export cleanliness
- Iteration speed potential
A total below 20 means the pipeline still has friction. A total above 24 means you can safely layer content. This rubric prevents the common self-deception where a scene looks attractive in screenshots but fails as a prototype.
Appendix D: Why Godot Pairs Well with Blender MCP
Unity and Unreal can absolutely run this same art pipeline. Godot earns a recommendation here for three practical reasons. First, GLB round trips are straightforward. Second, a tiny 3D game stays lightweight enough that a solo developer can reimport often without ceremony. Third, the scripting surface for a one-interaction prototype is small enough that you can keep your attention on scene quality and feel.
The strategic point is broader than engine loyalty. Once Blender MCP makes greybox generation inexpensive, the engine that wins for early prototypes is the one that lets you reimport, retest, and rerecord with the least ceremony. For many solo developers, that is currently Godot.
Appendix E: Team and Solo Variants
If you are solo, protect mornings or evenings for the full loop: generate, export, play. Context switching kills the advantage. If you are two people, split by bottleneck: one owns Blender MCP iteration and exports, the other owns Godot integration and feel. Exchange only versioned GLBs plus a short changelog such as “chest scale +20%, door widened, tree_02 moved off path.” Avoid sending raw chat logs as production documentation.
If you teach this workflow in a classroom or game jam, require every team to submit the 20-second video and the blocker list, not just screenshots. That grading standard forces the pipeline to end in playability.